The 9 Steps of Computerized Paint Matching to Original Factory Specifications
Ya’ll ever walked out to the patio only to see your car rolled up into the drive looking a little less shiny and filled with life than it ever used to?
Well, not to play the blame game but it’s all on that sun you parked it under. Being in the best state of the US we get the chills of Winter, but we also get the rays all year round. And, really, it’s the UV rays we got to be keeping our eye on when it comes to paint wearing.
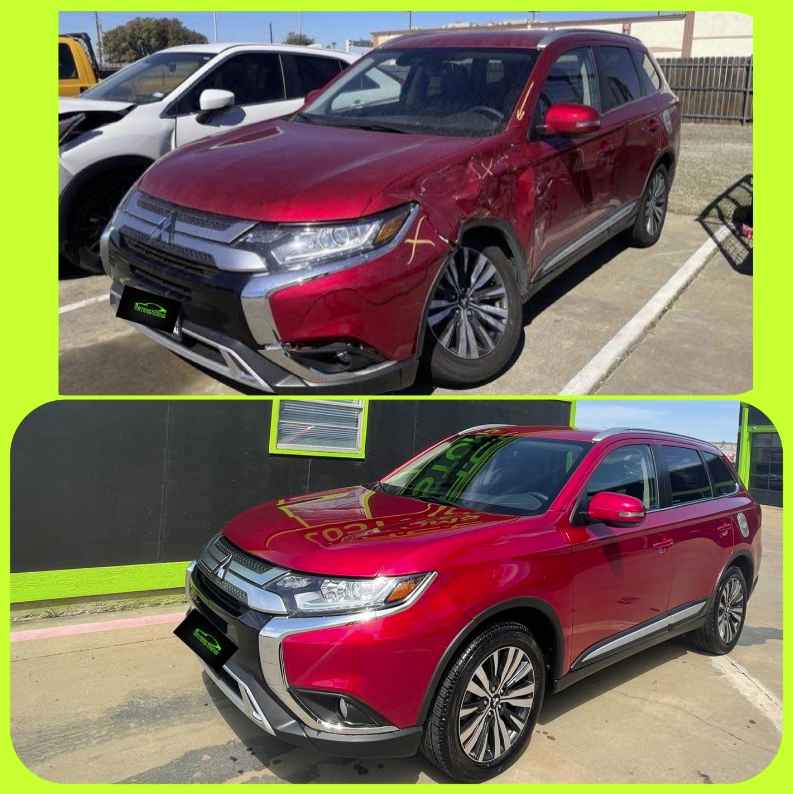
Paint fading on your vehicle’s body comes with exposure to sunlight for years. This is when the oxidation sets into the paint job.
As a Texas-based auto body shop, we see a lot of cars rolling-in needing customized paint matching to get the body back to its original factory specifications.
So, to save you wondering about all the steps we go through to get your car from looking old and faded to a dream on wheels using customized paint, we thought we’d walk you through them right here.
It’s a fiddly process behind-the-scenes to get the paint matching with original factory specifications:
1. Step 1: Buff the Oxidized Layer
So, we mentioned the fading is down to the paint oxidizing under the sun’s UV rays. We need to get rid of this so you can get a finish of value where value’s due. We grab the buffer, turn the machine on and work our way through the top layer of paint without getting down to the metal.
2. Step 2: Polish the Measuring Panel
To get a clean finish and a good look in at the true color, the next step is using a fine polishing compound. We rub this on a flat area of the vehicle for a minute or two in order to prep the measuring area. It needs to be flat like a section of trunk panel, so the color photometer is flush against the body.
3. Step 3: Use a Color Photometer
That color photometer we mentioned; well, it’s its time to shine! We use the portable device to take scans and color measurements of the face, the flip and the flop of the paint. This way the paint matching doesn’t miss-out the metallic sheen of the finish and you know you’re spending your dollars on the good stuff.
4. Step 4: Take Three Readings and Name
Still with that color photometer; you didn’t think we were done just yet, did you? Well, we’ve got to take around three of these readings in slightly different areas of the polished panel. Just in case of light leakage, it can compare and average out the color scale. Then, it’s a case of naming the color and heading over to the computer.
5. Step 5: Input the Vehicle Details
Well, now we’ve walked all the way from your wheels to the computer, we can upload the paint recording while inputting some extra data such as the manufacturer, the make, the panel number and the color code. Hint: color codes are found next to the compliance plate, in the engine bay or on the inside of door jams.
6. Step 6: Take a Paint Matching Test
Because we added in all that extra stuff, the software brings up the original factory specification for the paint matching process. Then, it’s time to use the color comparison tool to find the customized paint settings that match your cars original shine. We blend, add effects, add extra color and even get the coarse grain matching.
7. Step 7: Create a Preliminary Sheet
Now we’ve played around with the color, we can get a preliminary mix done. It doesn’t create the entire paint mixture, but just enough to see the final outcome with the right color levels. This generally prints onto a small card so we can take it out to the car for a bit of testing and up-close paint matching.
8. Step 8: Check the Test with the Panel
Here’s the ultimate test of any customized paint job. Making sure the preliminary sheet actually matches your vehicle’s (at least in the buffed areas or non-faded panels). Come hell or high water, paint matching will be achieved. So, we spray water, ensure light refraction’s the same and get the metallic base right for a perfect match.
9. Step 9: Mix and Spray the Customized Paint
The last step’s always the fun part. It involves some masking of the surrounding panels with a bit of 3M and plastic covering, then out comes the spray gun. Of course, we get the machine to help us mix the paint first. Then, we get sanding, priming, spraying, buffing and polishing before handing the keys back to you.
And that pretty much sums up the 9 steps to customized paint matching using computerized software. It’s a bit of a corn-fed process but seeing the matched results at the end is all worth it to see your car in the glory of its original factory specifications!
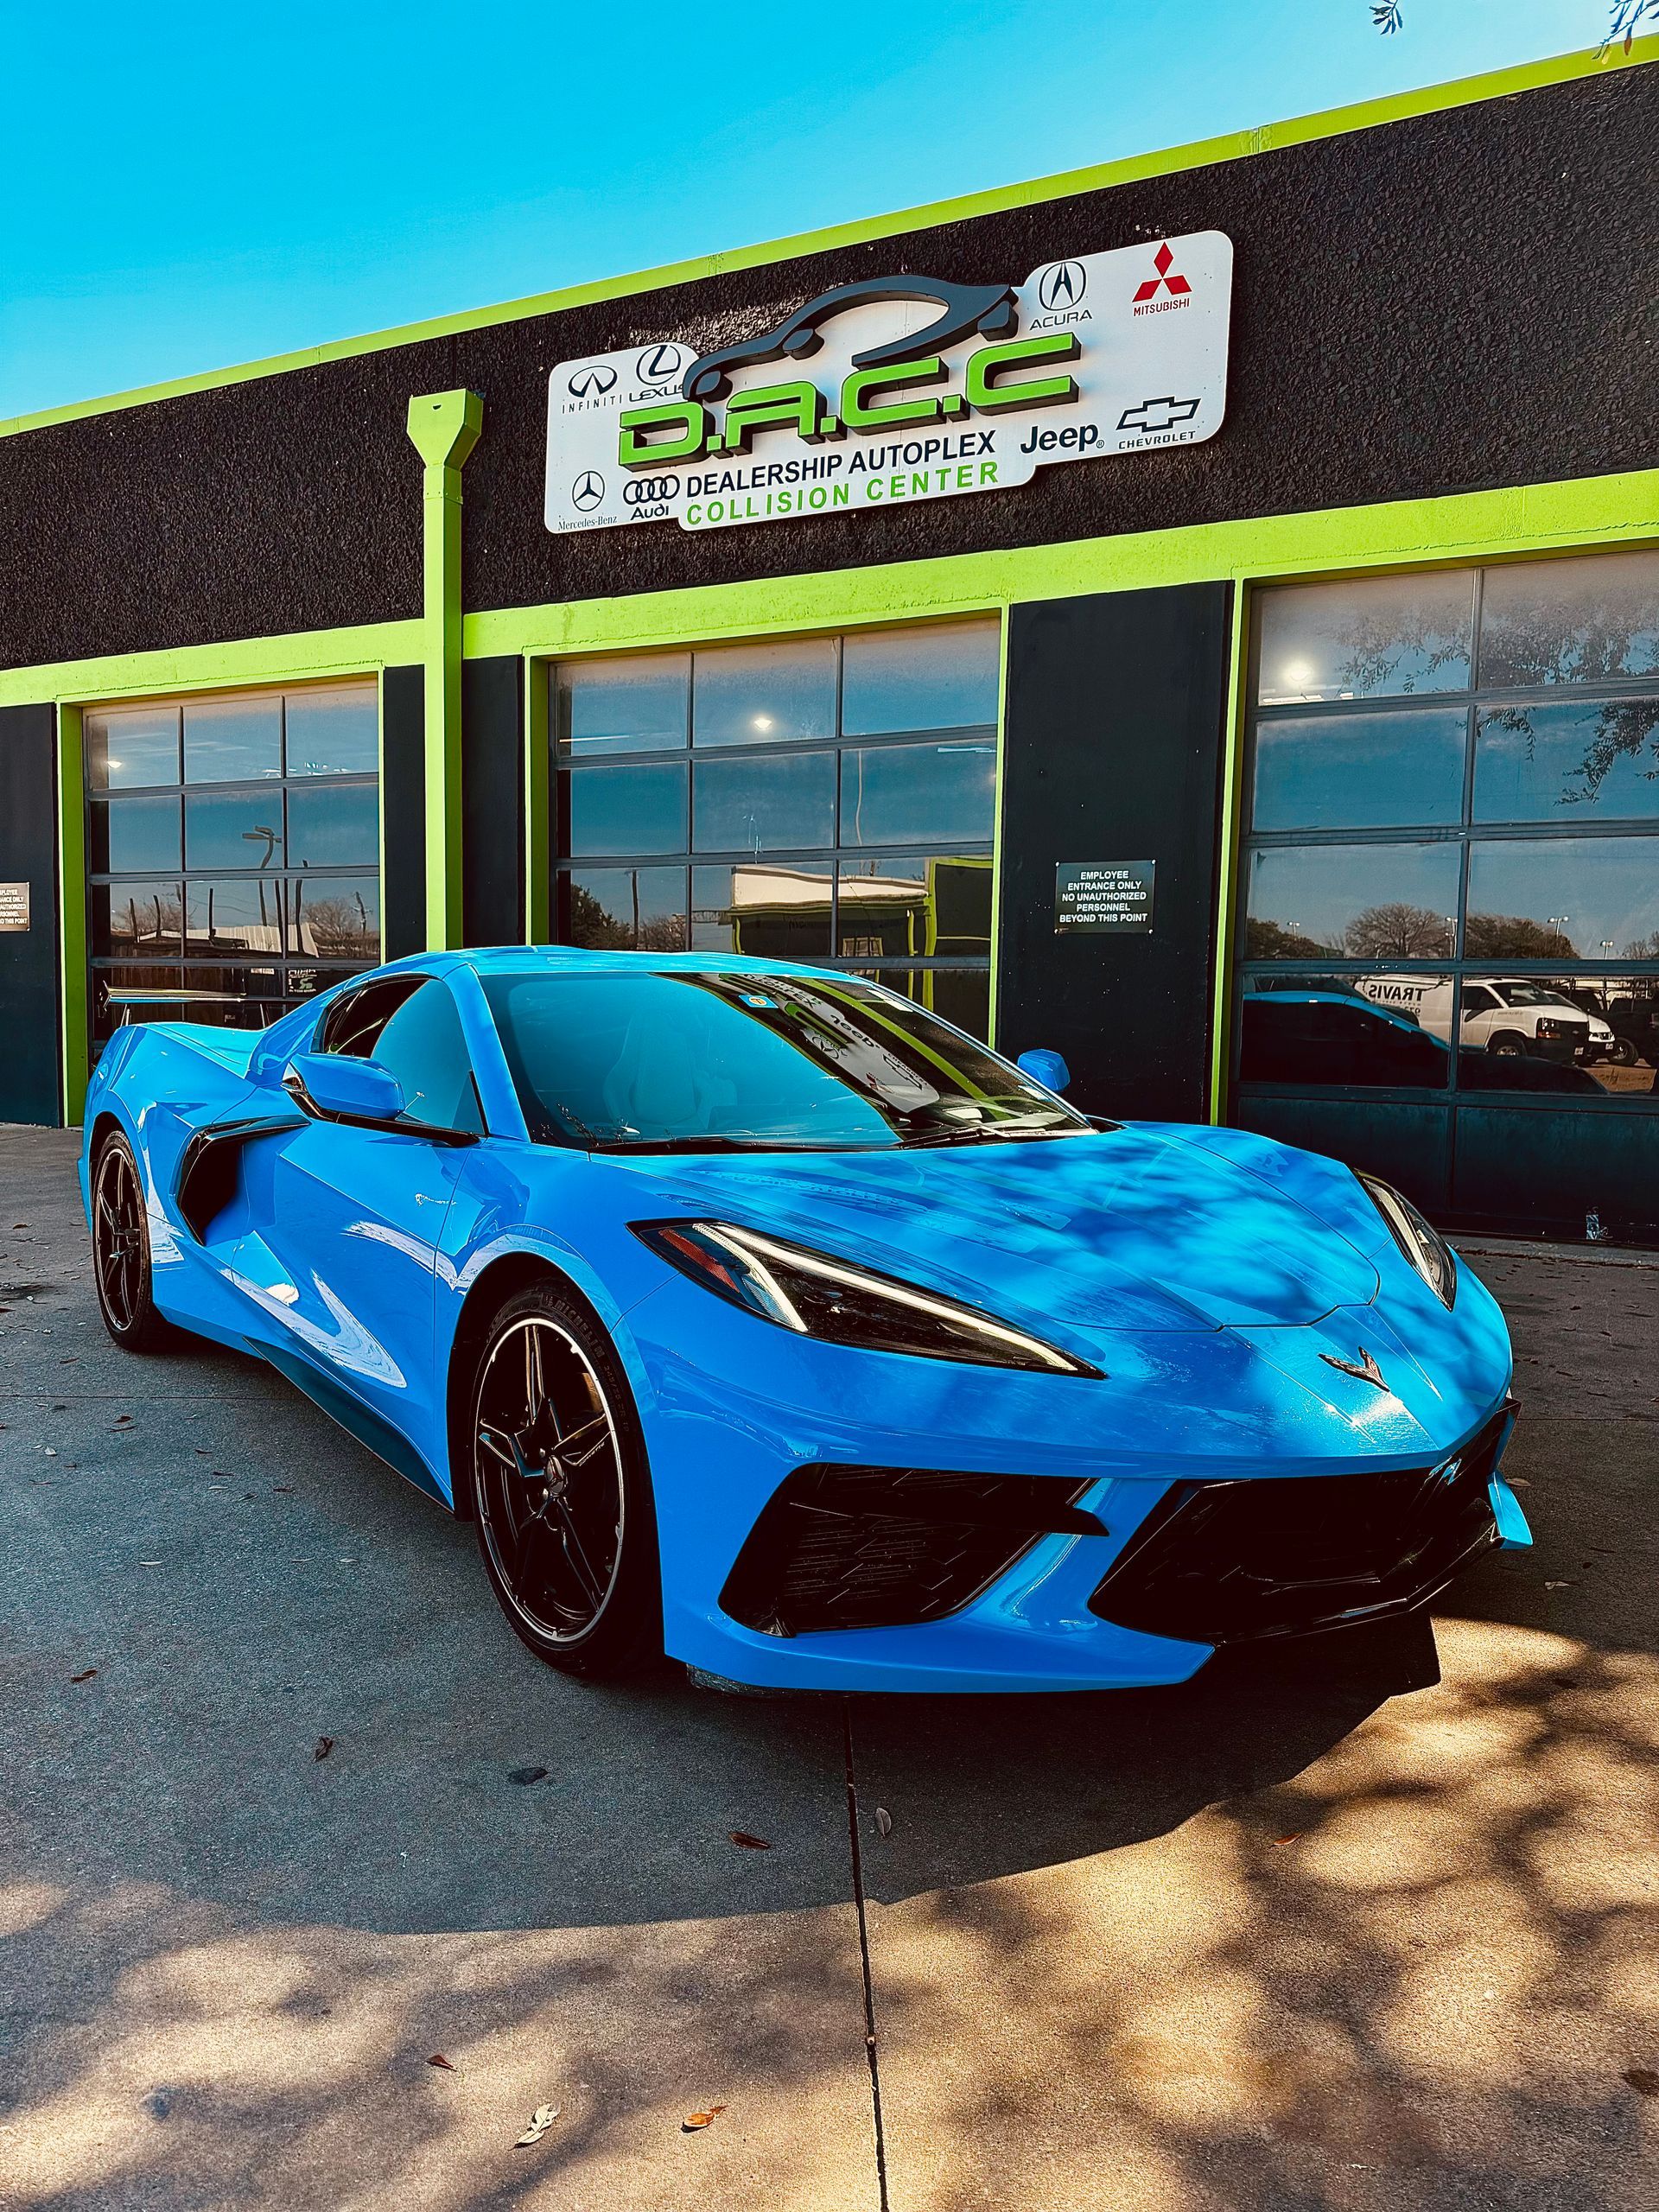
Here at the Dealership Autoplex Collision Center the team are ready and waiting for your call. So, reach out on (972) 242-0092 to schedule a customized paint matching job, check-out our website or roll-in to our autobody shop in Carrollton, TX.
Certified Collision Center | Luxury Vehicles
OEM Parts | Luxury Cars
Hail Damage to Car | Hail Damage Repair