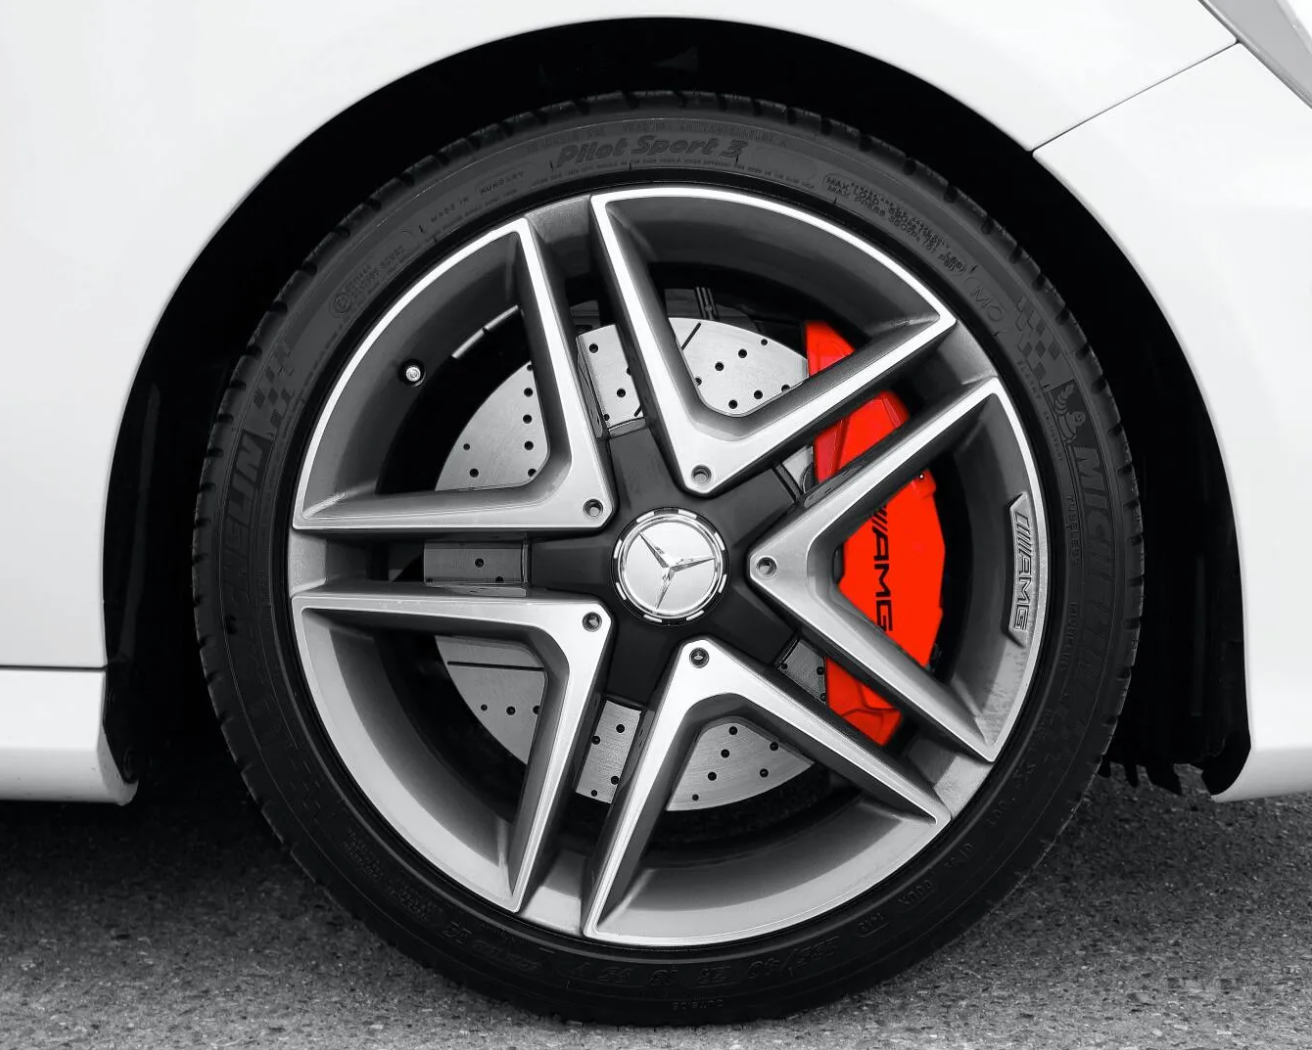
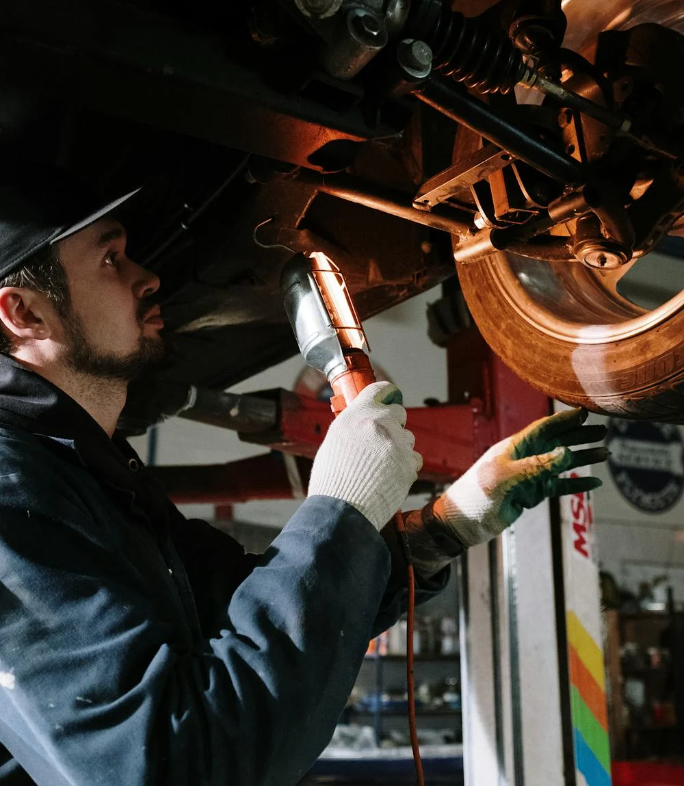
Wheel Detailing, Auto Detailing

Auto detailing is more than just bringing the shine back to your motor’s smile. For wheel detailing, specifically, it's a preventative care measure.
Every time you drive your car, you’re - presumably - breaking. And, every time you break, microparticles of iron, carbon, adhesive, paint and other fibers are shaved off. This creates break dust that settles on your wheels, causing them to pit and corrode through time.
So, maintaining your car with wheel detailing can save you downtime and repair costs down the line no matter whether you have rims or hub caps.
Because of this, our auto detailing team has gathered to bring you 5 stages of wheel detailing for your own vehicle. Or, to at least check they're getting the due care and attention they need when you take it to a detailing shop!
- Step 1: Remove Caked-On Brake Dust
This should be one of the first steps in the entire auto detailing process. Simply because the microparticles can cause more damage to a freshly cleaned panel on your car than it can to one with a decent layer of muck on top.
Grab yourself an iron contamination remover (typically a spray bottle near the shampoo section) and get spraying. Many of these on the market will have a reactive element to them; so, they’ll change color when it comes into contact with the iron particulate. This way, you know when it’s all clear.
Follow the brand instructions for how long to leave it to sit and then get a soft-bristled long brush to scrub away the really caked-in stuff. Finally, pressure wash away!
- Step 2: Clean Your Wheels and Tires
The iron contamination removal process doesn't remove all the other road dust, general tarmac, stones or grime that gets kicked up as the wheels are turning. So, the wheel detailing process must go on.
The next step is to find yourself a low-pH wheel shampoo if you’ve got painted or coated wheels. Alternatively, if you’ve got aluminum or chrome parts, you can grab any general shampoo as they’re hard-wearing materials that can withstand pretty much any shampoo.
Simply spray, leave to work, scrub, pressure wash and repeat until sparkling inside-out.
A quick tip is to wash one wheelset at a time to prevent each wheel from drying too much. This makes sure the shampoo is only doing its job and no other side tasks to your trim.
- Step 3: Dry Your Wheels Carefully
This step involves some of the same thinking that’s behind our last tip of doing one wheelset at a time. Leaving your wheels to dry on their own can cause water marks. So, it doesn’t leave that sparkling, fresh, attractive or professional finish we’re aiming for. So, it’s best to grab a micro-fiber or terry cloth and give your wheels a quick wipe down and inspection.
Be on the lookout for any water escaping your tires (signs of needing a new set), scratches, corrosion, remaining dirt or grime and caked brake dust in the wheel nuts.
Another tip the team has for you here is to make sure any scrubbing tools - like a bristled brush or a terry cloth - is only used for your wheels and nothing else when auto detailing. This makes sure there isn’t any cross-contamination between the wheel finishing products and body finishing products that could cause wear before it’s due.
- Step 4: Wax Each Wheel for Protection
Next up in wheel detailing, we have the preventative measures that should be taken to make sure less brake dust and road grime can do damage in the future.
Waxing your wheels can be done in the same way as any other part or panel in the auto detailing process. Essentially, add wax to a pad and buff it onto the wheel rim or hubcap.
The great thing about this stuff is that it’ll keep your car's wheels looking shiny for longer and it’ll mean the only thing you’re removing between waxes is water. This is because it creates a protective layer between your car’s wheels and everything else around it. However, most wax products need to be reapplied every two weeks to maintain their effectiveness.
- Step 5: Add Pizazz With Black Tire Gel
The final step to rolling out of your drive each morning to jealous neighbors is to add a coat of black tire gel to your wheel’s rubber. While you can use any tire gel, we’d suggest opting for a water-based gel rather than a silicone-based gel as the silicone can turn brown over time.
Always follow the bottle’s label advice when applying. This, of course, can be said for all cleaning solutions used throughout the auto detailing process. When applying, add thin coats so they don’t clump, come off or cause the tires to crack as they turn.
That sums up each of the 5 steps you should take when wheel detailing. Of course, steps 4 and 5 are added optionals but they will help your wheels stay looking new and sparkling for longer.
Here at the Dealership Autoplex Collision Center, it's our job to make sure your car is humming as smoothly as it did the day it rolled off the factory floor. So, whether we’re doing that in our shop or on our website for you to read and take away, we’ve got a trunk full of useful information.
To find out how our team can make sure your wheels and tires are well maintained, view our services on our website or call the team at (972) 242-0092. Otherwise, feel free to come straight to our shop here in Carrollton, TX.
Link to:
“The DACC Guide to the Importance of Tire Maintenance”
Link to:
“The Value of I-CAR Technicians by the 8 Learning Paths”
Link to:
“The Go Big or Go Home Guide to Auto Accessories Installation”


